
www.TestsTestsTests.com

Basic Data Entry and Navigation Tutorial
Free Online Microsoft Excel Tutorial
Excel 2010 – Entering Data
* Navigating a Sheet
* Entering Text and Numbers
* Editing Text and Numbers
* Deleting Text and Numbers
Many people treat Excel as if it is a word processing program and it can be frustrating trying to type into and move around the screen if you have never used spreadsheets before. Understanding how to navigate around Excel and entering data is the starting point for becoming friends with Excel.Test your Excel skills with the corresponding FREE Online Multiple Choice
Excel Basic Data Entry and Navigation Test
* Navigating a Sheet
The first thing you probably noticed when you opened a sheet in Excel, is the grid. The grid is the lines that divide an Excel sheet into rows, columns and cells.
1. To move around the grid, use the arrows on your keyboard to move upwards, downwards, left or right by pushing each arrow once in the direction you wish to move. You can also use your mouse by clicking the left mouse button whilst hovering over the cell you wish to select.
2. The cell that is currently selected will have a dark black border around it as shown in the image above.
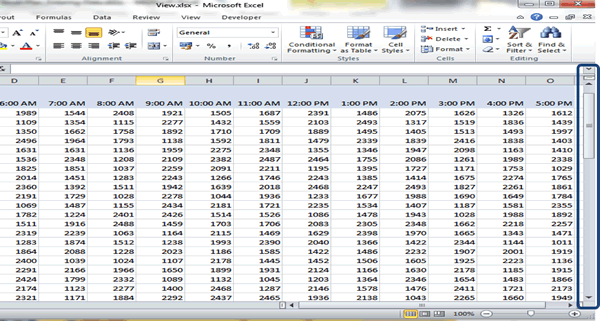
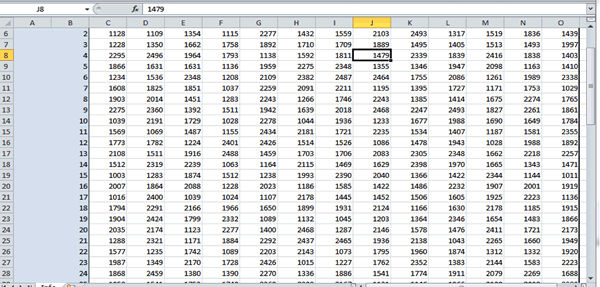
3. Use the navigation bar at the right hand side of the screen (circled in blue in the image above) to move the part of the sheet that is visible on your computer screen up or down. Click the up pointing arrow to move the screen view upwards and the down pointing arrow to move the screen view down.
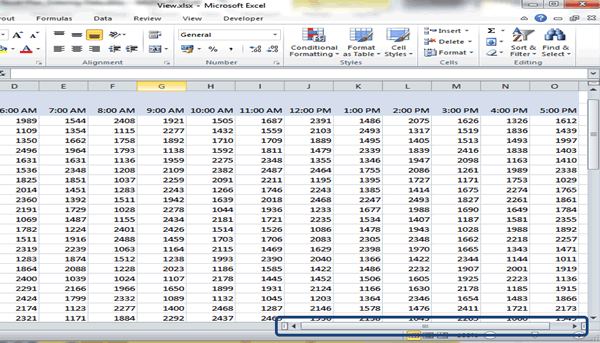
4. Use the navigation bar at the bottom right hand side of the screen (circled in blue above) to view the hidden cells on the right hand side of the screen. Click the right pointing arrow to move to the right and the left arrow to move back to the left.
TIP: You can drag the slider in the middle of the arrows on the navigation bar at the bottom of the screen or the navigation bar on the side of the screen to quickly move upwards or downwards.
* Entering Text and Numbers
Each cell in Excel should be viewed as an individual entity that can contain text or numbers or any combination of these. It is a little bit like a highway that is eternally gridlocked where each vehicle is stuck in its own space.
In the same way that two vehicles cannot overlap and occupy the same space on the road (unless someone is having a very bad day!), the data you enter into an Excel sheet each belongs to its own space on the grid.
1. To enter text or numbers in a cell, first select a cell on the sheet (see how to NAVIGATE A SHEET).
2. Use your keyboard to type numbers, letters or words into the cell that you selected.
3. The numbers or text you typed should appear in the cell you selected and also in the bar above the grid as circled in the image below.
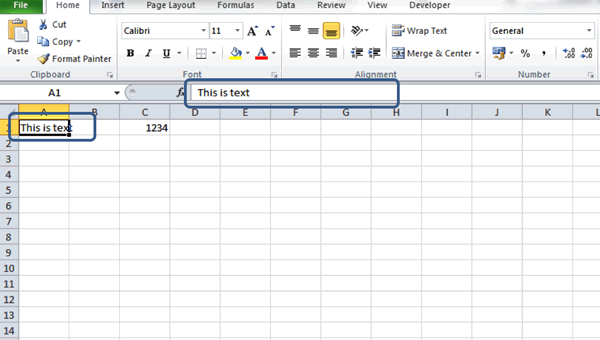
Note that only the contents of the cell you have selected will appear in the bar above the grid.
4. When you press the enter key, Excel will take you to a new cell. You can also use the tab key on your keyboard to navigate to the next cell quickly.
TIP: Use the navigation tricks covered in NAVIGATING A SHEET to move around the worksheet and practice adding text or numbers to multiple cells.
* Editing Text and Numbers
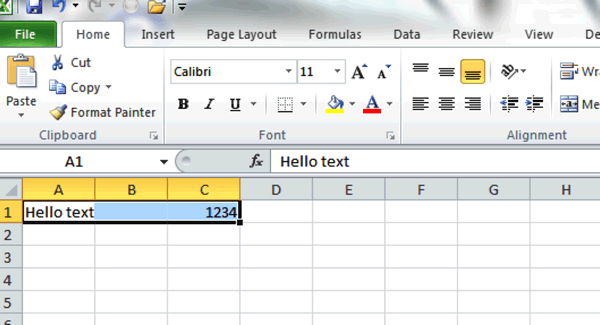
Making changes to the content you add to a sheet is only two clicks away! Well almost…1. Using your mouse, click the cell containing the text or numbers you wish to edit.
2. You will note that the contents of the cell you have selected is visible in the bar at the top of the grid.
3. Click into the bar at the top of the grid and use your mouse or the arrow keys to move left or right through the text/numbers and make any changes required. You can use the delete button and back button to remove unwanted letters, words or numbers.
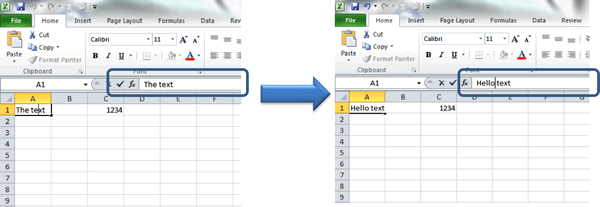
4. Once you are happy with the changes you have made, press enter on your keyboard to accept them.
TIP: You can also edit the contents of a cell by using your mouse to double click the cell. Then use your arrow keys to navigate to the part of the text/numbers you wish to edit and go ahead and make your changes. It’s as simple as changing TV channels quickly to avoid watching those irritating commercials!
* Deleting Text and Numbers
They say the only certain thing in life is change. No sooner would you have added data in the form of text and numbers to your spreadsheet, and someone or something will come along and tell you that information is now null and void.
Luckily for us, the days of the typewriter and correcting fluid is over and deleting something cannot be easier.
1. To delete the contents of a specific cell – select that sell by using your mouse to click on the cell once.
2. Simply press the delete button on your keyboard and it’s cleared!
3. If you need to delete the contents of multiple cells, use your mouse to select multiple cells. You do this by holding down the left mouse button whilst dragging the cursor across the cells you wish to select for deletion.
The result of doing this should look something like this:
4. Now go ahead and just push the delete button on your keyboard.
WARNING: The above is known to work on Excel sheets only. You cannot delete annoying people or politicians.
Woohoo! Now that you have done the tutorial:
Test your Excel skills with the corresponding FREE Online Multiple Choice
Excel Basic Data Entry and Navigation Test
TRY THE NEXT TUTORIAL: Copying and Pasting Excel Tutorial
TRY THE NEXT TEST: Copying and Pasting Excel Test