
www.TestsTestsTests.com

Formatting Paragraphs in Word Tutorial 2016
Microsoft Word 2016 Tutorial with 7 quick VIDEOS
Free Online Microsoft Word Tutorial
|
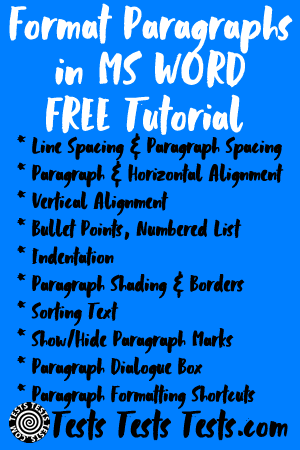 |
Formatting Paragraphs in Word
Another formatting tutorial? Surely we covered this in Formatting Text in MS Word? There’s more to this formatting thing than fancy fonts I’m afraid. Where previously we covered altering the appearance of the typeface, in this section, we’re going to cover the formatting of bodies of text, covering topics such as placement, spacing, and structure.
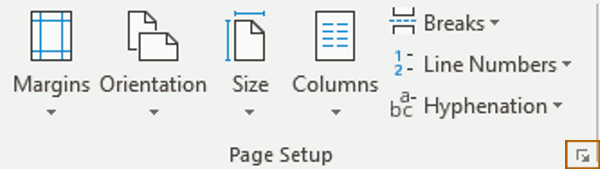
The Word Ribbon – the features covered in this section are located on the Paragraph section of the Home tab on the ribbon.

- Line Spacing in Word – Paragraph Spacing in Word
Quick video introduction to Line Spacing and Paragraph spacing in Word
Want to know how to change line spacing in Word 2016? You’ve customized the text of your documents before, now prepare to customize the empty spaces. Aesthetic reasons aside, certain types of documents may require specific spacing configurations, for example legal contracts. It is also especially common for educational institutions to specify the line spacing on assignments, to better facilitate readability and marking.
When we talk about line spacing in Microsoft Word, we are talking about the gap between consecutive lines of text in the same paragraph, i.e. when your text exceeds the length of the page and continues in a new line below.
With your text cursor anywhere in the paragraph you wish to alter:
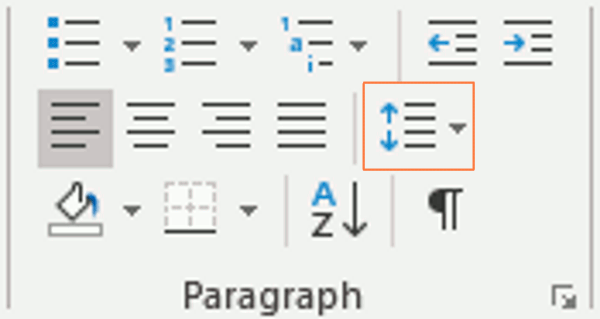
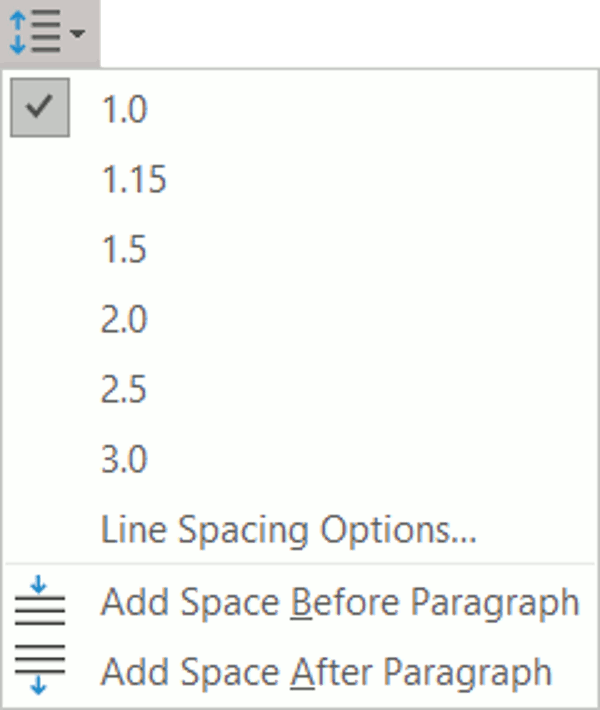
* clicking the ‘Line and Paragraph Spacing’ button will allow you to select from common the line spacing options
* whereas choosing ‘Line Spacing Options…’ from the menu will open the paragraph dialogue for even greater levels of specificity
When we talk about paragraph spacing, we mean the gap between lines of text when you press ENTER on the keyboard. With your text cursor anywhere in the paragraph you wish to alter, clicking the line ‘Line and Paragraph Spacing’ button will allow you to add space before or after the paragraph.
When hovering over options in the ‘Line and Paragraph Spacing’ menu, Word’s “live preview” functionality will adjust the spacing on your document to the setting in question but will revert to its original spacing if no option is selected.
- Alignment in Word – Paragraph Alignment – Horizontal Alignment
Quick video introduction to Alignment in Word
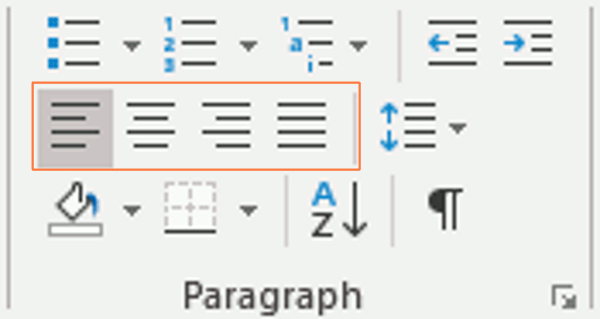
The paragraph section offers four buttons for controlling the horizontal alignment of a paragraph. With your text cursor anywhere in the paragraph you wish to alter, simply click one of these buttons to change alignment. You can change multiple paragraphs simultaneously by highlighting all the paragraphs.
Left alignment is what most Western cultures would consider the default. When set to left aligned, each new line of text will start against the left margin of the page and continue towards the right. As such, the first word of each line will line up vertically. Because each line of text is usually a different length, this will result in “jagged” spacing near the right margin.
Center alignment aims to make the spaces between the left and right page margins, and the left and right edges of the text equal. As a result, your line of text will be at the relative center of the page. If you were to view consecutive lines of center aligned text, you would notice that the words do not line up on either the left or right ends of the page. Center alignment is not often used for large paragraphs of text but can add subtle visual clout to things like headings.
Right alignment mirrors the placement of left alignment. Word will line up the last character of the last word of each line against the right page margin.
Finally, justified alignment will attempt to line up both ends of the paragraph text, removing the jagged appearance altogether. It does this by subtly adjusting the space between each word until all lines within a paragraph are equal length. Note that this will not affect the last line of each paragraph, which remains left aligned.
- Vertical Alignment Word
Quick video introduction to Vertical Alignment in Word
So far, all the alignment we’ve covered has been in relation to horizontal alignment, but how do we set the vertical alignment?
This is not available from the Paragraph section; you must instead access the Page Setup dialogue by going the Layout tab and then clicking the dialogue button in the Page Setup section.
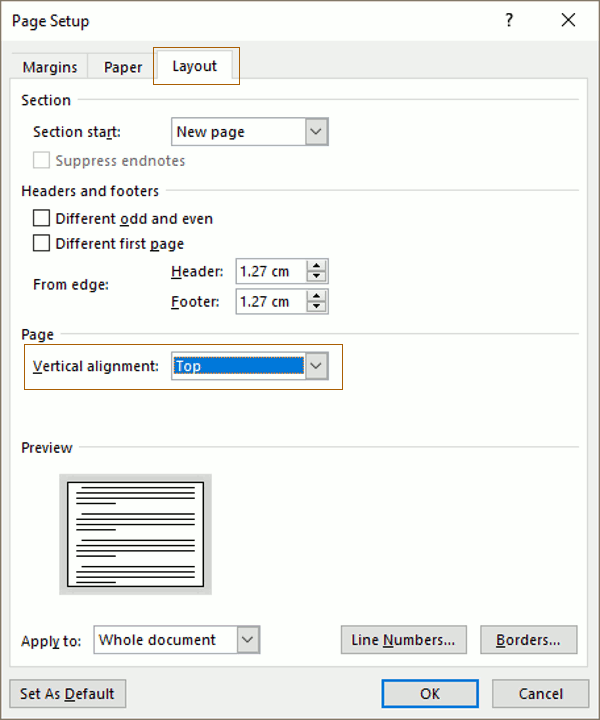
Under the dialogue’s Layout tab, you’ll find the Page section, where you can set the vertical alignment to Top, Center, Justified, or Bottom.
- Bullet Points in Word, Numbered List, Multilevel List Word
Quick video introduction to Bullet Points and Lists in Word
Sometimes we need to put things in point form or numbered lists.
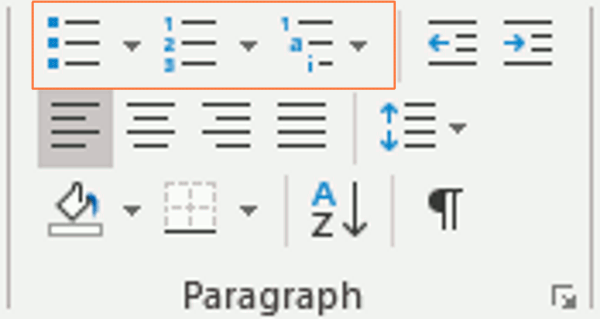
Bulleted lists display uniform symbols at the start of each list item / paragraph. This form of list is suited to situations where the order of items is not particularly important and where no item needs to be referenced from another part of the document.
Numbered lists display numbers or letters incrementally for each list item. Each item is thus uniquely identified within the list, meaning lists of this nature are well suited to situations where the order of items is important (for example instructions) or where items my need to be referred to (for example a contract).
Clicking either the bullet or numbered list buttons will start a new list at the text cursor’s current position. Pressing enter once will start a new list item below the current one. You can stop adding to the list, and start a new paragraph, by pressing enter twice. The style of these lists can be changed from the default by clicking the downward facing triangle immediately to the right of each button.
Multilevel lists are simply numbered or bulleted lists which have subsections. Clicking the ‘Multilevel List’ button will display a menu with preset list formats, as well as options to define your own custom list formats.
- Indentation in Word 2016
Quick video introduction to Indentation in Word
Pressing the ‘Increase Indent’ button paragraph will move the selected paragraph further from the left margin, whereas the ‘Decrease Indent’ button will move the paragraph closer.
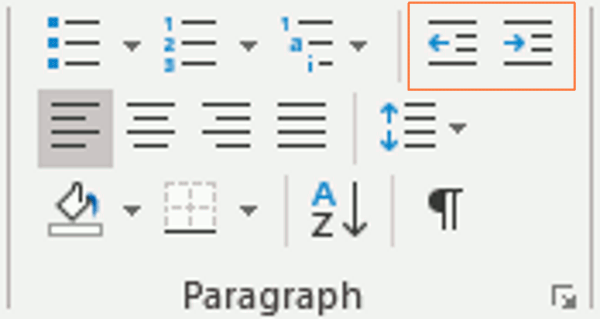
Indenting helps to separate the paragraph from the text around it. Indenting is also frequently combined with lists, particularly multilevel lists, as indenting an item within a list will automatically make that item a sub-list of the item before it.
While these buttons only affect indentation relative to the left margin, the Paragraph dialogue allows you to specify indents from the right margin if needed.
- Paragraph Shading and Borders in Word
Quick video introduction to Borders and Shading in Word

Paragraph shading sets the background color for the selected paragraph of text. Unlike the text highlight function from the Font section, which displays a color behind selected characters, shading colors a rectangular box which fully encompasses the selected paragraph(s).
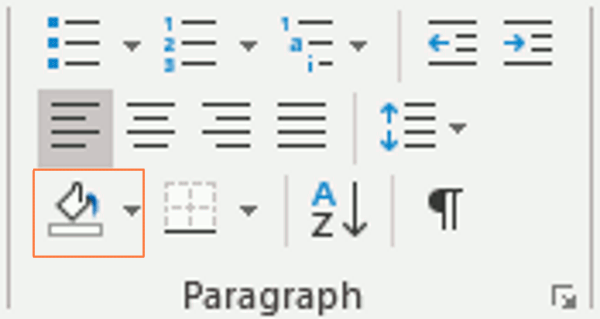
It is initially necessary to click the downwards facing triangle to the right of the ‘Shading’ button, as this is how you choose which color to shade with. Thereafter, one can simply click the button to apply the same shading to later paragraphs. Shading will not be applied to the space created by indenting the text, but will be applied to the symbols, letters and numbers of lists.
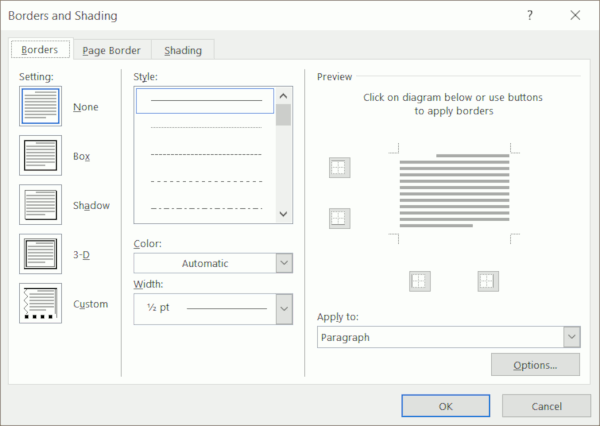
Related to shading, the ‘Borders’ button allows you to display lines along the edges of the rectangular box occupied by the selected paragraph(s).
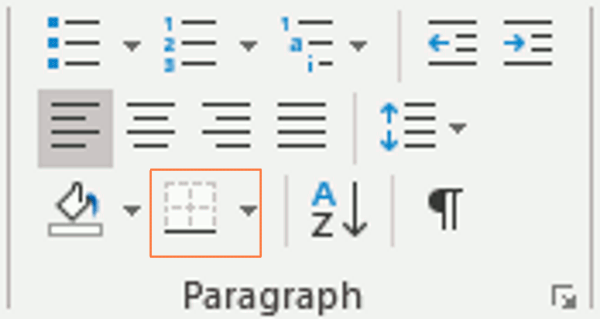
Clicking the downward facing arrow will allow you to select from several commonly used presets, or open the Borders and Shading Dialogue where you can customize style, color, and line width.
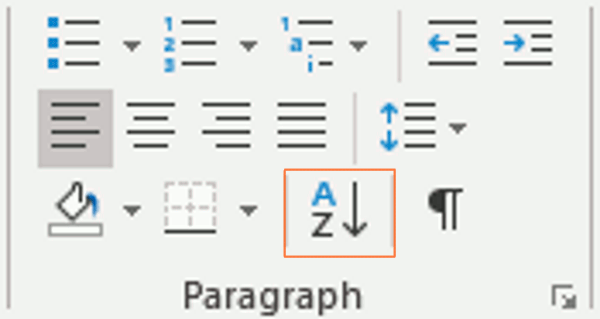
- Sorting Text in Word 2016
Quick video introduction to Sorting Text in Word
The ‘Sort’ button will sort paragraphs alphabetically or numerically, in either ascending or descending order. If no paragraphs are highlighted, it will attempt to sort the entire document.
While this may seem like a somewhat esoteric function for paragraphs, remember that Word conceptualizes paragraphs as text separated by a “new paragraph” signal, typically as a result of the user pressing ENTER on the keyboard. As such, this same button is used to sort lists or tables.

Highlight the paragraphs, list items, or table you wish to sort and click the ‘Sort’ button to open the Sort Text dialogue.
- Show Paragraph Marks in Word / Hide Paragraph Marks in Word
The show/ hide paragraph marks function does not change any formatting on your document at all, though clicking it will radically alter the appearance of your document on screen, causing arcane symbols to appear everywhere.
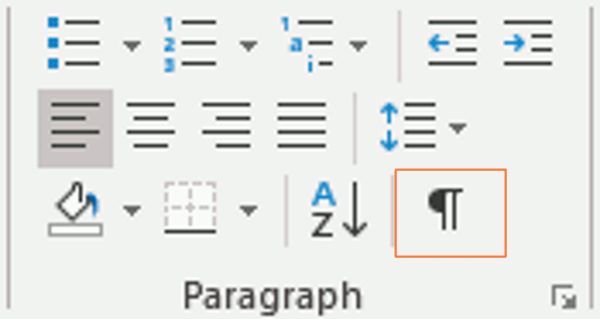
Remember in the section on sorting, when we mentioned a “new paragraph signal”? This button causes the invisible formatting signals to be visible. This can be incredibly useful when attempting advanced layout tasks.
- Paragraph Dialogue Box in Word 2016
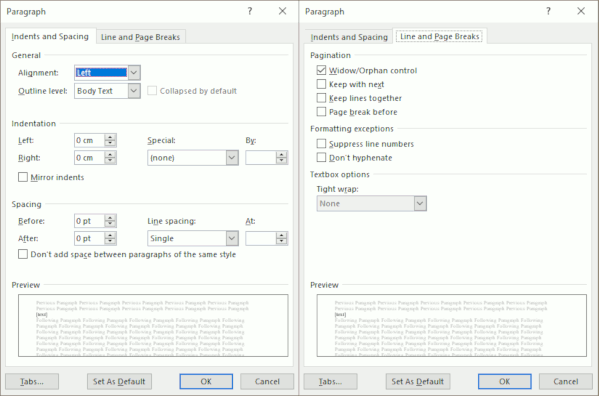
The Paragraph dialogue can be called up at any time by right clicking any paragraph and selecting ‘Paragraph’ from the context menu. This dialogue allows finely tuned alignment, indentation, and spacing configuration.
- Paragraph Formatting – Keyboard Shortcut Word
|
Effect |
Key Combo |
Effect |
Key Combo |
|
Align Left |
Ctrl+L |
Align Justified |
Ctrl+J |
|
Align Center |
Ctrl+E |
Show/Hide Marks |
Ctrl+* (Ctrl+Shift+8) |
|
Align Right |
Ctrl+R |
|
|
Woohoo! Now that you have done the tutorial:
* TRY THE NEXT TUTORIAL: Styles in Word Tutorial 2016
* TRY THE NEXT TEST: Styles in Word 2016
* More from Tests Tests Tests.com
